Frequently Asked Question
With this guide, we’ll be showcasing how to enable Snap Layouts in Windows 11 so that you can get your perfect workspace no matter how big or small your monitor screen is. For those Snap Layout skeptics, you should be able to quickly disable Snap Layouts also via this method.
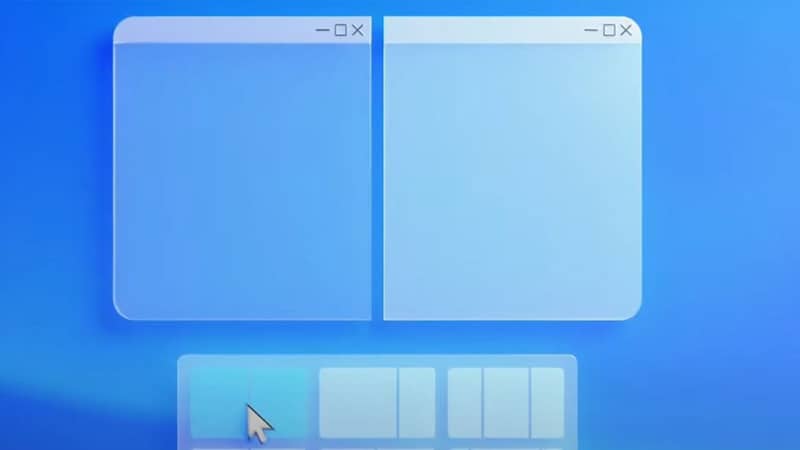
Windows 11 Snap Layouts - How to enable
So you’re looking to get the new Windows 11 Snap Layouts? The short and simple steps below should get the job done nice and quickly.
STEP1Open Settings
Open your Windows settings by clicking the Start button and typing ‘Settings’.
STEP2Select System
Once in the Settings window, locate the System option and click it.
STEP3Go to Multitasking
After you’re in System settings, head to Multitasking.
STEP4Enable Snap Layouts
To turn on Snap Layouts check the ‘Show snap layouts when I hover over a window’s maximise button’ box.
And just like that, you should now have Snap Layouts in Windows 11 ready to go. If you try it out and it’s not for you, head back to the same area and uncheck the box we enabled.